Wood Plug Cutters: More than Just a Cover Up
Tips for Woodworkers Using Wood Plug Cutters
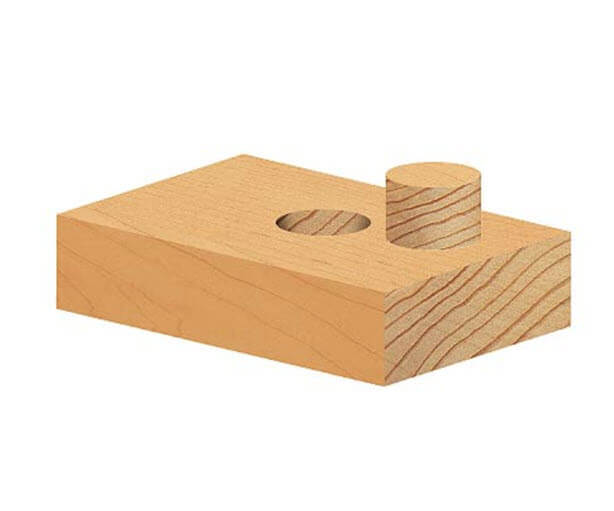
One of the most common uses of wood plug cutters is to create plugs to cover up and conceal screw heads.
When screw holes are drilled with carbide tipped countersink bits, the drilling creates a deeper hole enabling the screw head to be inserted below the surface. This allows a plug to be inserted into the piece and then sanded down creating a flat and clean surface. Although a great use, not all of us use screws in our furniture. That doesn't mean that we cannot find another use for a plug cutter.
Let me explain; one of my favorite styles of furniture to create is shaker style. Generally speaking, the lines are straight and the pieces are simplistic in its form. With its straight lines and flat surfaces, I am always sure to spend more time on joinery; making sure not to hide the joints, I bring them to the forefront of the piece.
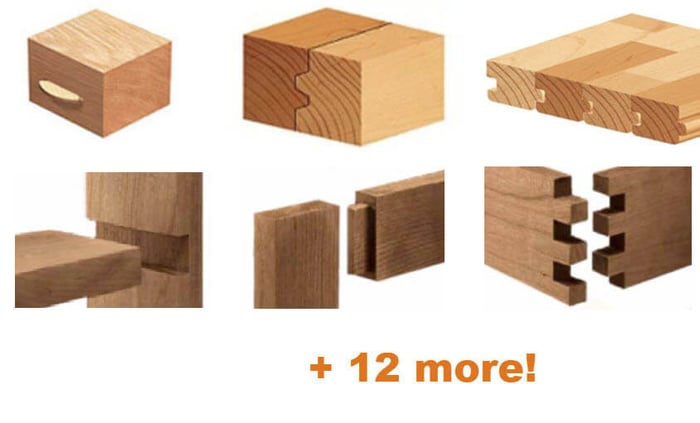
The joints which I use most with shaker style furniture are simple doweled joints. Drilling through intersecting ends, doweling and plugging these holes enables me to create a beautiful contrast in wood and color. With the contrast of plugs to the piece and a really nice finish, you can really wow your audience.
The process is simple and can be used by the most modest of furniture makers.
After the milling and construction of the piece is complete it is time to dry clamp. When in clamps and you are satisfied with your progress, take this opportunity to mark off and drill where your dowels will be placed. When drilling, make sure that you take note of the depth of your hole (you will need this for reference when it comes to cutting your dowels to length).
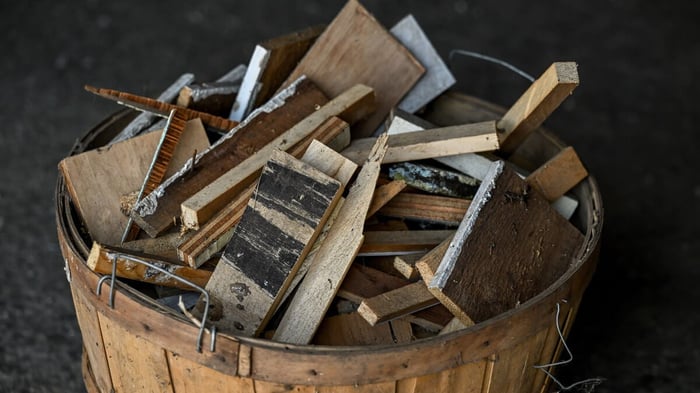
Before you are ready for final glue up, prepare and cut to length your dowel pins making sure that you cut the pins 1/4 inches shorter than the length of your drilled hole. Now for the best part; take a walk over to your hardwood scrap pile. Choose a nice piece of hardwood that contrasts your piece of furniture the most (or to your liking). With your plug cutter, drill down into your scrap piece creating the needed amount of plugs.
With a small flat head screw driver as a lever, detach the plug from the board being careful not to damage the top edge. Now it's time for final glue up; Apply glue to both the dowel and hole and tap in the dowel until the end of the dowel is recessed 1/4 inch below the surface of the work piece.
While the glue is still wet, take your newly cut plugs, add the glue, and tap into the recessed hole. Take note that your joint will be a feature in this piece. In order to add just a bit more detail, make sure that the grain of the plug is running the opposite direction of the grain from the piece. This small detail will create even more contrast.
Following the drying period, flush trim the plugs and finish sanding your piece.
Applying a finish to this piece will enable you to see the sharp contrast between the piece and the plug creating a beautiful feature.
The greatest part of using a plug cutter to create contrasting plugs is that it not only makes a simple joint into a feature but it also just couldn't get any simpler.
Other useful information:
- A plug cutter cuts a tapered hole enabling a snug fit
- Plug cutters don't have a center spur, it's best to use them in a drill press.


