Making Mission Style Cabinet Doors
Mission style furniture was the first style of furniture that many of us learned to make in woodshop. The techniques applied to create this style of furniture are basic, but they still require a level of precision which must be mastered before moving on to more advanced techniques.
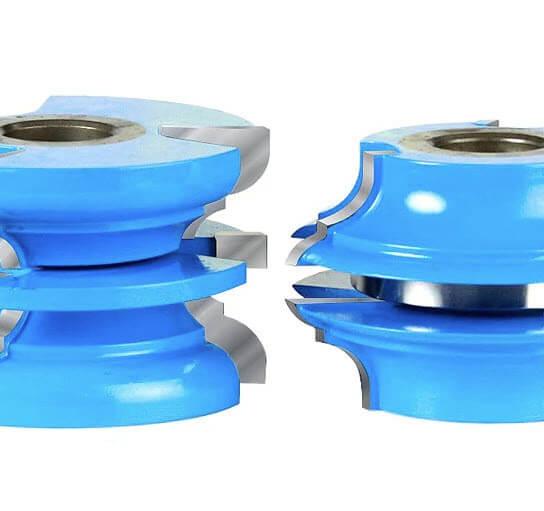
There have been many new advances in tooling which makes the simple task of creating mission style work even easier and more accurate, including the table saw, shaper, router and CNC machines. My personal favorite advancements are the stile and rail shaper cutters which mill out the rabbits for both rails and stiles. These cutters are designed to cut precise grooves which provide undersized plywood veneered panels with a snug rattle-free fit. Using these shaper cutters, one can set up the machine to create exact duplicates for consistent and perfect results.
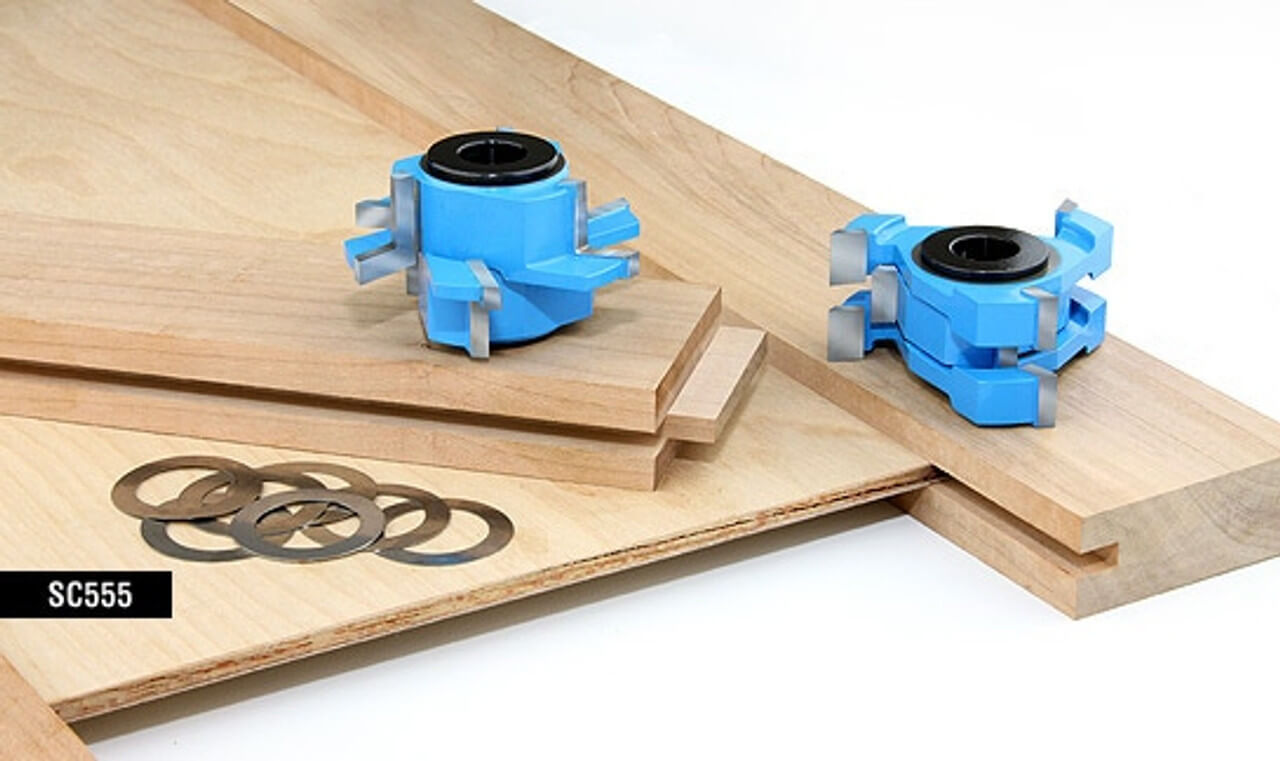
Stiles & Rails - The Defining Element of Mission Style Cabinet Doors
Stiles and rails are used in the frames of doors and wainscoting as well as other pieces found in cabinets and furniture. The concept of the floating panel is three-fold. First, it is aesthetically pleasing. Second, the multiple parts and construction provide strength, and third, being that the panels are not glued or fastened, they 'float', allowing for the door to expand and contract without damage.
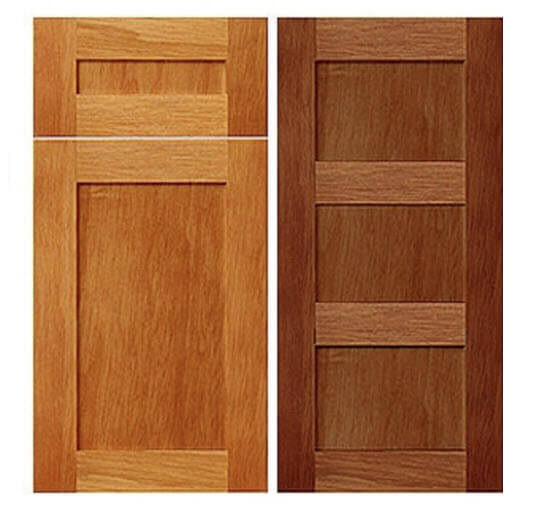
When creating a floating panel, its construction requires just two rails, two stiles and a center panel. The vertical pieces are called the stiles and the horizontal pieces are the rails. As a whole, this is also known as a five piece door.
When constructing larger panels, such as an entry door, it is common to divide the panel into sections. Many times we see doors divided into quarters which have a top, center and lower rail as well as left, center and right stiles. The techniques to construct a simple panel and a panel with sections are generally the same.
Traditional Mission style cabinet doors have stiles and rails exactly perpendicular to the floating panel, but some modern doormakers add an additional flair to their profiles.
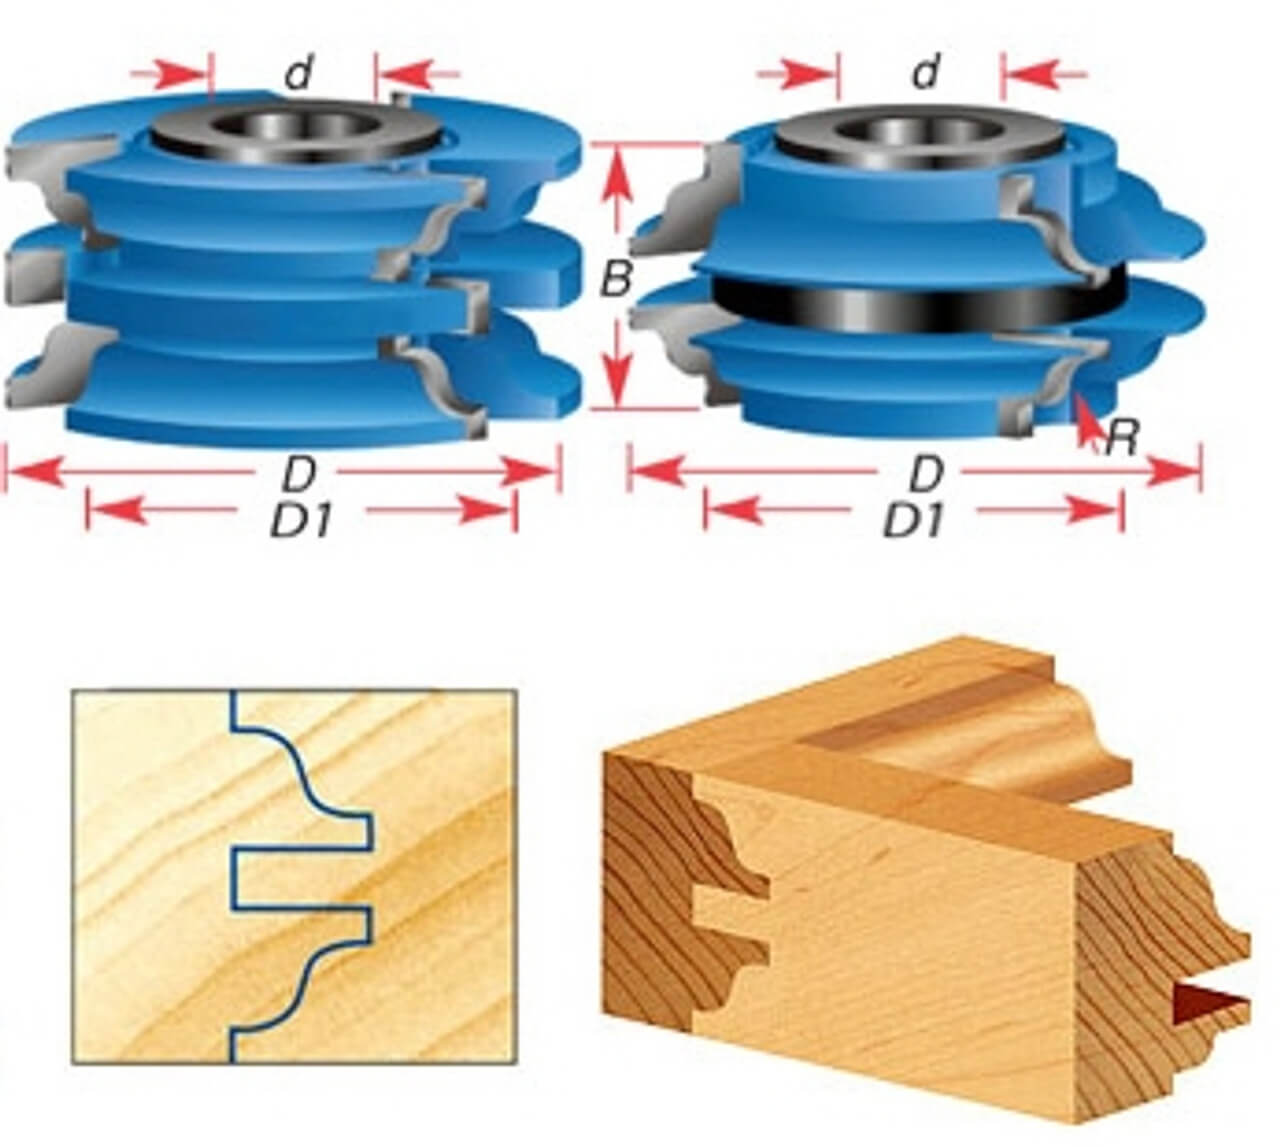
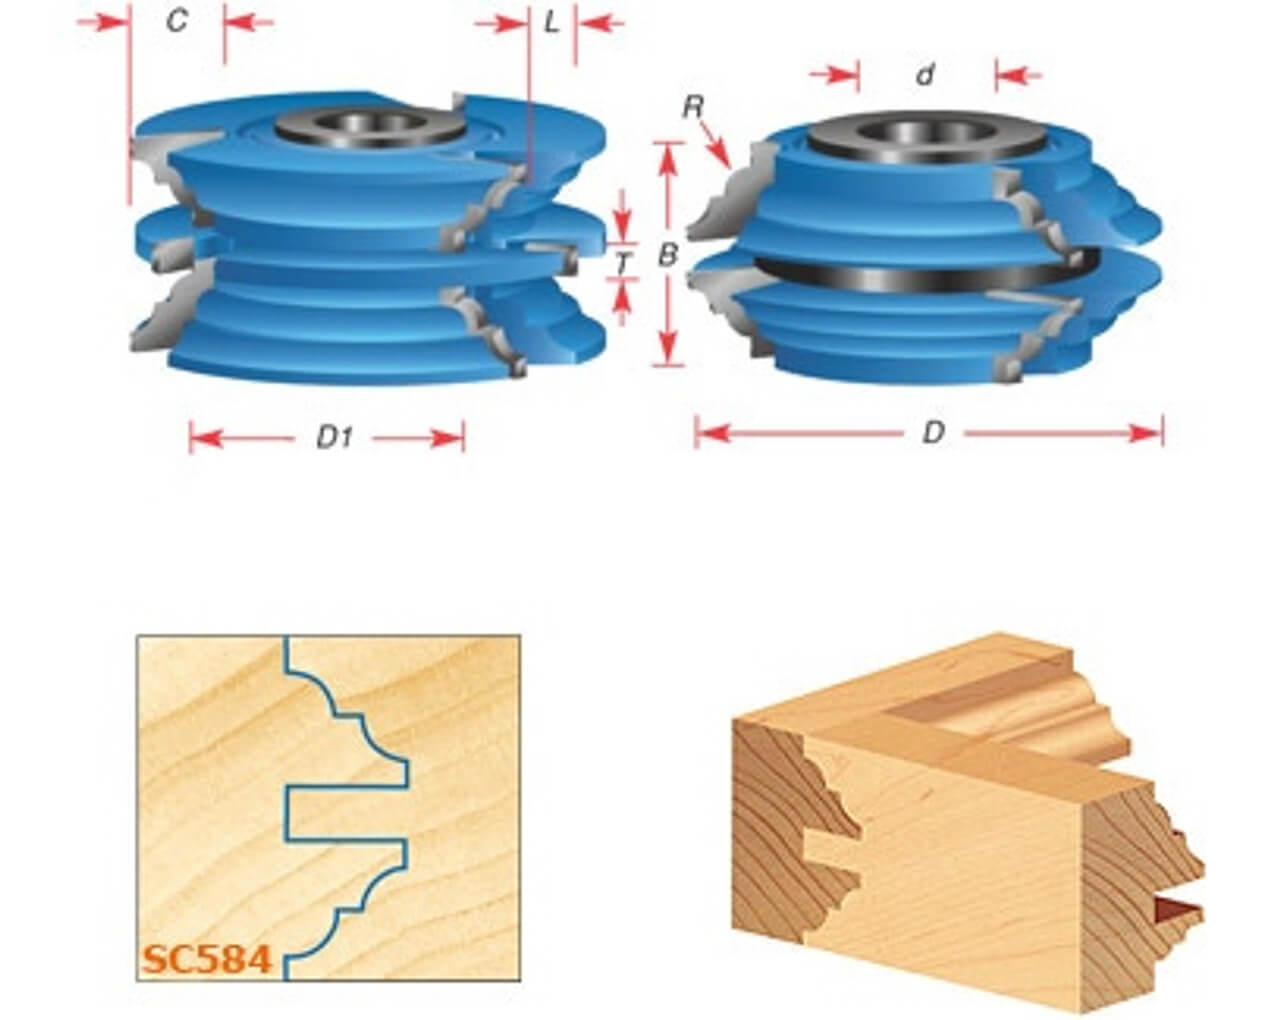
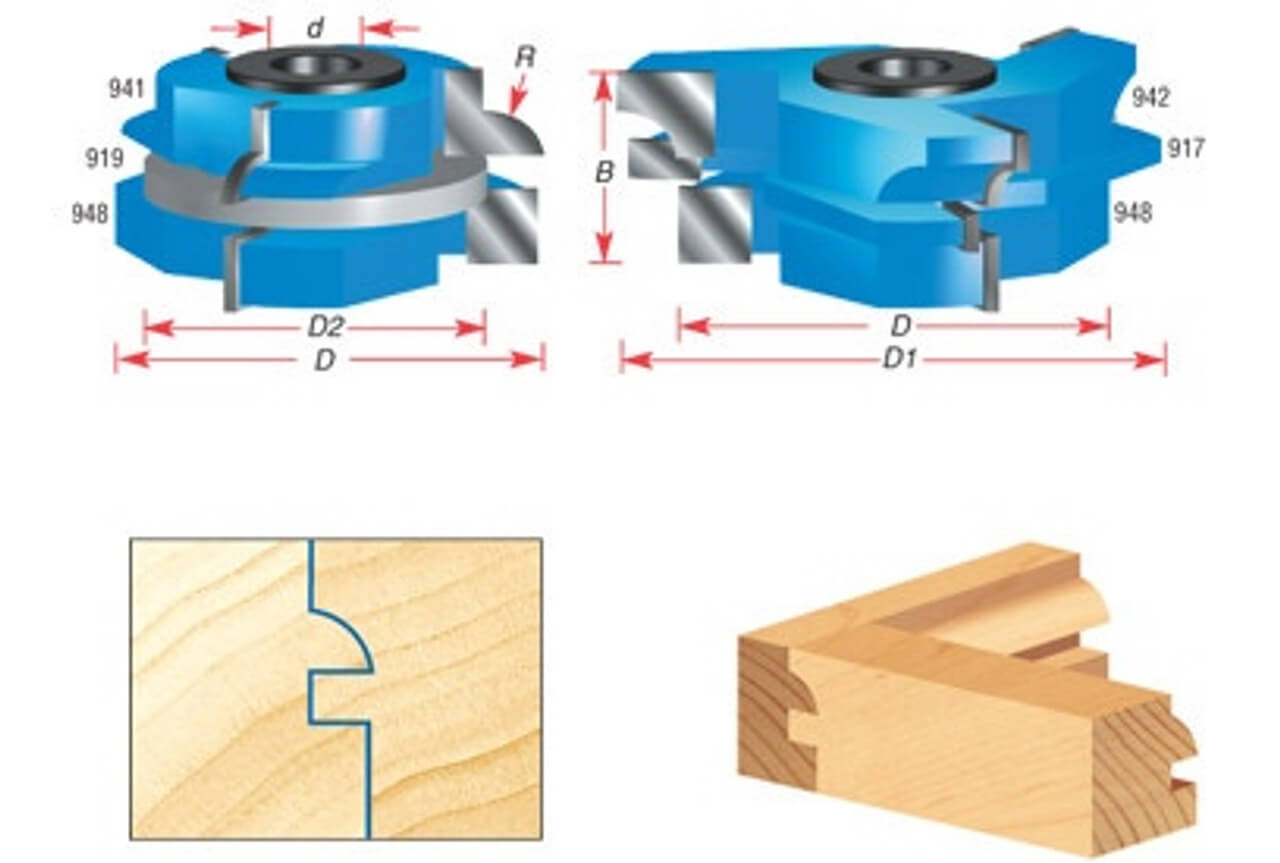
Different Door Profiles - Classic Mission & More
Within this joint, one can be very ornate with its profiles, such as creating a raised panel. Alternatively, one can keep it simple and clean (in classic mission style), meaning that one need just cut a rabbit along the length on the inside which will house and hold the edge of the panel when milling out the stiles and the rails.
When the panel is together, all of its edges will be 90 degrees. One can also cut the inside rabbits for the rails and stiles and at the same time cut a profile on the front edge. The use of a cove, round over or ogee router bit can add a bit more detail to the panel. (Read more about Choosing the Right Router Bit for Your Cabinet Door.)
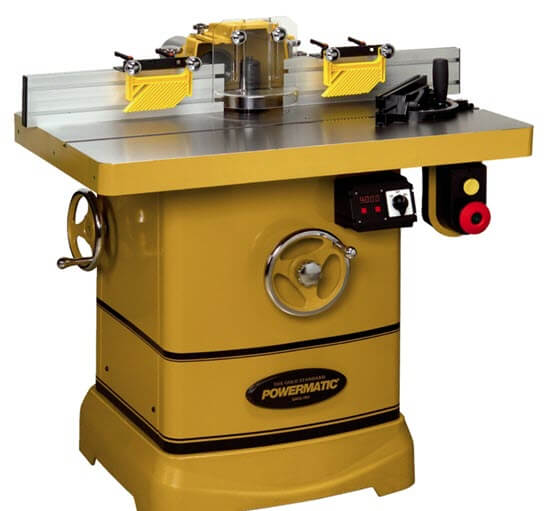
Not all woodworkers have all the machines and tools to make their jobs easier, but for those who do have a shaper it is important to note that there are many cutters on the market for cutting rails and styles, both mission style and with profiles such as ogee, bead and cove, or concave.
For woodworking beginners and intermediates who love to create both simple and classic pieces, there is not a more versatile technique than creating panel doors. The techniques involved are the same for both modern and traditional pieces, and they can be easily made with today’s modern tools and technology.
Watch Building a Mission-Style Medicine Cabinet in fullscreen.


